Create a Project
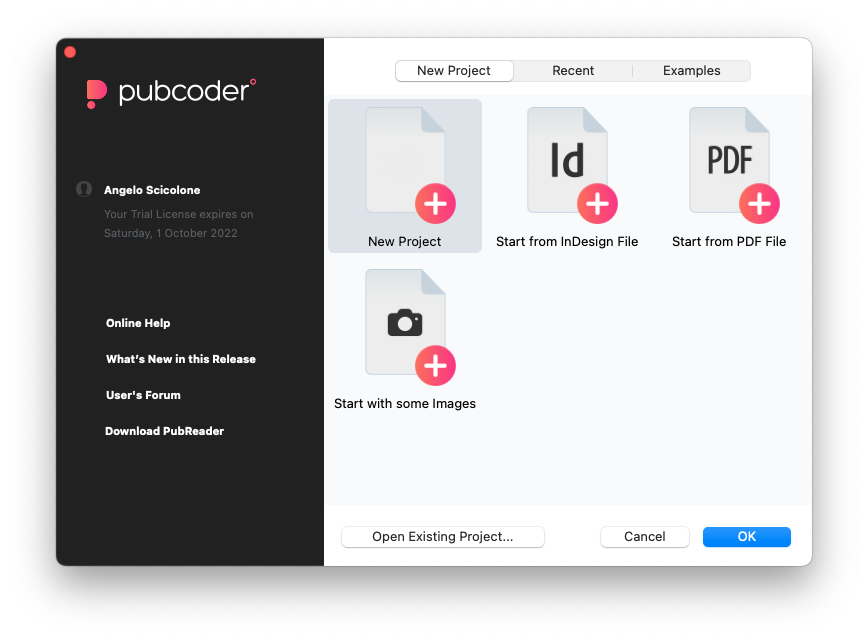
When you startup PubCoder, the software will display a Welcome Page that will allow you to choose what to do next: you can create a blank new project or start from an InDesign layout, a PDF file or a set of images to create a photo book; you can also use the tabs at the top to switch to a list of recent projects or useful examples projects; finally you have a button to open an existing project that is not displayed in the recents list.
The start window also displays your current license informations together with links for online help and resources.
Creating a new blank project you get a simple window where you can specify project title and author and decide the page size, orientation and language.

As you may know, PubCoder produces fixed layout contents, meaning that the page size is fixed, like in a PowerPoint presentation or an InDesign layout. When displayed on displays with different resolutions, your layout will be adapted to fit the screen but it will never be streched: if the proportions of the layout do not match the display ones, some areas of the display will be left blank. If you want your layout to fill the screen of a specific display proportions, you will be able to add another rendition with a different page size and adjust your layout specifically for that size. You can also use renditions to add different languages/localizations to your project, but this is not the theme of this article.
Project Window
The project window is the place where you will spend most of your time in PubCoder and is the starting point to edit every aspect of your project, from general settings to page layout and objects animations.
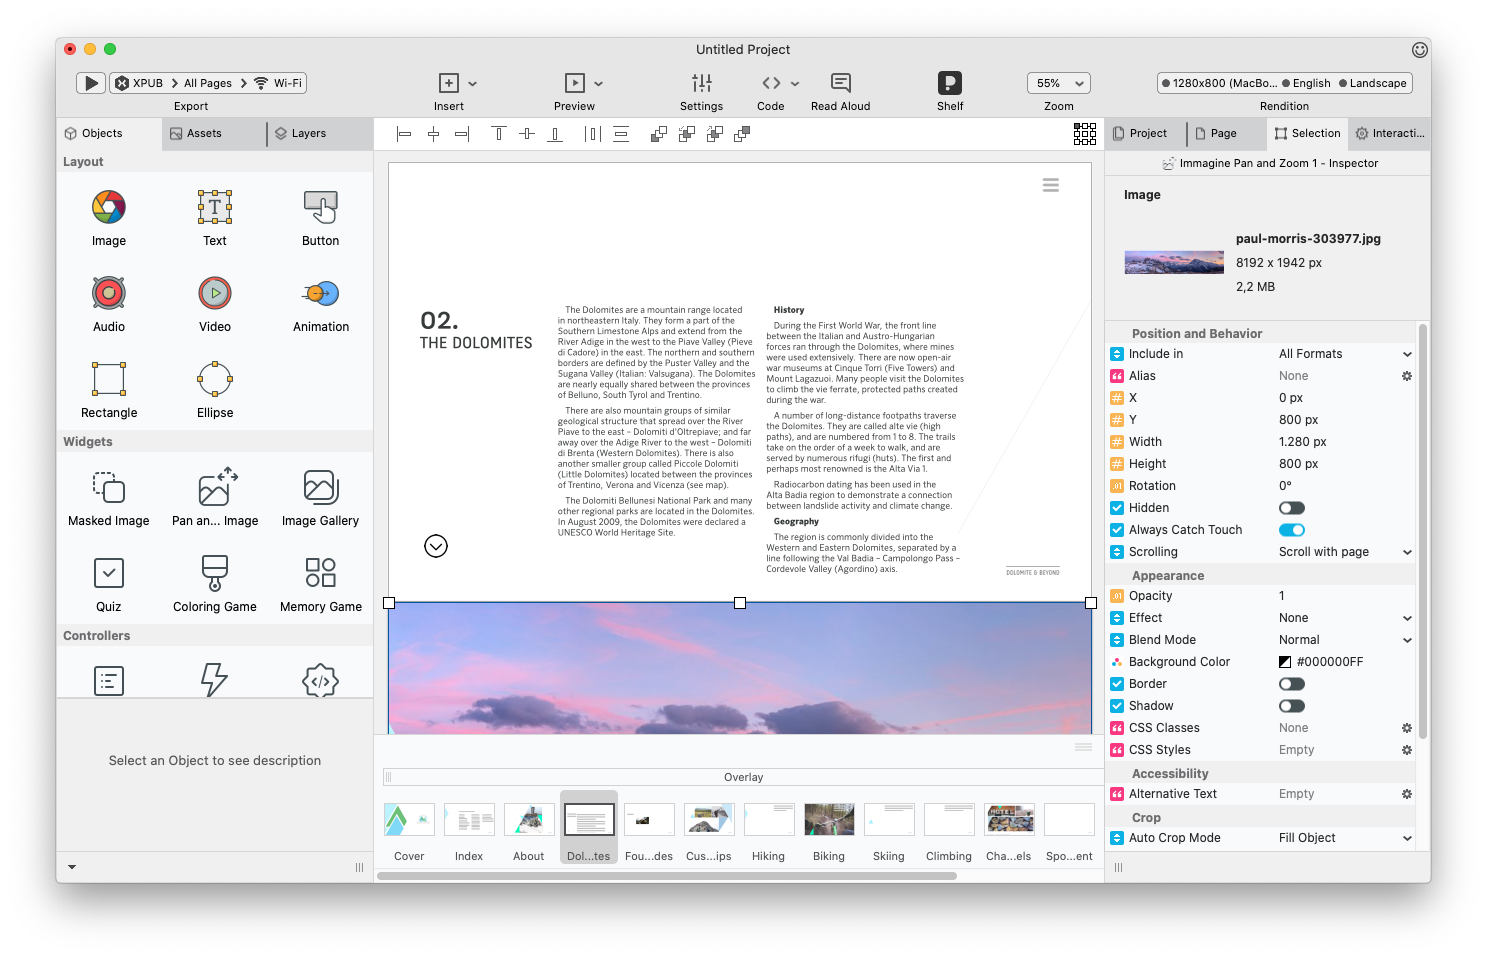
The project window is divided into 5 sections:
- At the top, a you can find toolbar with buttons and popups that allow to export or preview your project, modify settings and renditions and other quick-access functionalities
- At the center of the window you will find the stage, a big what you see is what you get area where you will layout your page and insert contents in a very familiar way: you can drag placeholder areas, drop files, use alignment tools and automatic magnetic guides:

- At the bottom of the window, just under the stage, there’s the page selector, that allows you to switch the current page visible in the stage but also allows to add, delete and move pages: you can select one or more pages (hold down
shiftwhile clicking to select a range of pages, hold down⌘on Mac orctrlon Windows to select random pages), then drag them to reorder, right-click them to display a contextual menu, or modify page properties in the inspector - The left side of the window is occupied by three different panels:
- the Objects Panel displays different kind of PubCoder objects (like text box, image, video, …) that you can drag on the stage to place on your page. You can also click on one of them, then drag an area on the stage to create a placeholder object of the desired size
- the Assets Panel collects the various assets used in your project, divided by kind. You can drag files in this section to add them to your project, and drag assets from the panel to the stage to place them in a container object on your page
- the Layers Panel lists all the objects that are present on the current page and allow you to show/hide them from the stage, lock them or link them so that they can be selected and dragged together on the stage. Of course you can also drag the rows to alter the the layer z-index position in the page, e.g. putting a specific object in front of others or vice versa
- Finally, at the right side of the window, there are the 4 inspector panels, that allow you to fine-tune properties of the current context:
- the Project Inspector allows to edit general properties of the project, ranging from covers and metadata to presentation and styling options. Among others, the Auto Page Title Pattern property allows to define a pattern for the automatic title of pages without a custom title, e.g. using “Page {pageNumber}” will make the various page title be “Page 1”, “Page 2” and so on.
- the Page Inspector displays properties of the current page (or pages) selected in the page selector
- the Selection Inspector is perhaps the most important, displaying properties of the objects currently selected on the stage or in the Layers panel. The options available will vary accordingly with the kind of selected objects: when selecting more objects of different kinds, you will still be able to edit the common properties of all selected objects at once.
- the Interactivity Inspector inspector allows to define the behavior of the selected object: each object has a different set of events (like the object was tapped or a quiz has been completed), to which you can link a sequence of actions to be executed.
Anatomy of a project
A PubCoder project is made up by a ordered series of pages, each page containing objects which usually contain one or more assets and may define some behaviors.
Assets are the files (mainly multimedia files) that you use in your project, like images, videos and sounds. Every time you add an asset in your project for the first time, for example you drag an image file on the stage, PubCoder makes a copy of that file inside the project and processes it, for example creating thumbnail files for an image, to optimize speed and compatibility. From that moment on, that asset will exist in your project file and you will find it in the Assets panel, even if you actually delete all the objects that use it inside the various pages of your project. When you export your project, PubCoder will do its best to optimize speed and compatibility of your asset in accordance with your layout: for example, if you imported a 5000 x 5000 px Photoshop file as an asset and you placed it in a 100 x 100 px image object on a page, PubCoder will use the original file to create a 100 x 100 px PNG image (or maybe 200 x 200 if you are using retina pixels density) at the time in which you export your project. You can use the Analyze Project functionality to find orphaned assets that you are not actually using in your project and remove them to reduce the size of the project file.
Objects are the bricks that create the content of your projects: they can be placed on your page to define the layout, content and behavior of your pages. As you can see in the Objects panel, PubCoder offers three kind of objects: layout objects allow to define the layout of your pages, you can use them to place images, text, videos, figures and so on on your page; widgets are layout objects with a built-in behavior, they can react to the user touches and gestures without the need to define any specific actions, for example you can use a Pan and Zoom image to obtain an image that the user can “navigate” with his/her finger; controller objects are used to control the behavior of the page, a part from the Smart Object they are not visible to the final user.
You can place an object on a page by dragging it from the objects panel to the stage. Once on the page, you can select it and edit its properties from the Selection inspector panel. Most objects can also be double-clicked to edit contents accordingly: double-clicking a text object will let you edit its text, double-clicking an image object will show a set of options to import an image file or edit the contained one, double-clicking a Quiz object will open an editor that allows to enter questions and answers and so on.
The Interactivity panel can be used to define the behavior of the selected object. Each object has a set of related events that can occur in response to something that the user does, for example tapping on an image or tilting the device or switching page. The object can respond to each of these events with a different series of actions that you can add right in the inspector panel, that will alter that object or another one on the page. Each action has its own set of properties that can be defined on the stage and in the action inspector in the bottom part of the Interactivity panel: for example, when you add a Move Object action, you can drag the anchor point on the stage to select the destination position of the object, while the duration of the movement can be defined in the action inspector. Actions in the interactovity panel can be dragged to re-arrange their order of execution, and can be also “attached” one to another to be executed at the same time as opposed to one after another.